Worker Information
Creating a New Worker
- Navigate to Productivity on the top bar and click on Productivity Settings on the left-hand menu, and select Worker Information.
- Click on + Add a new worker to create a new worker.
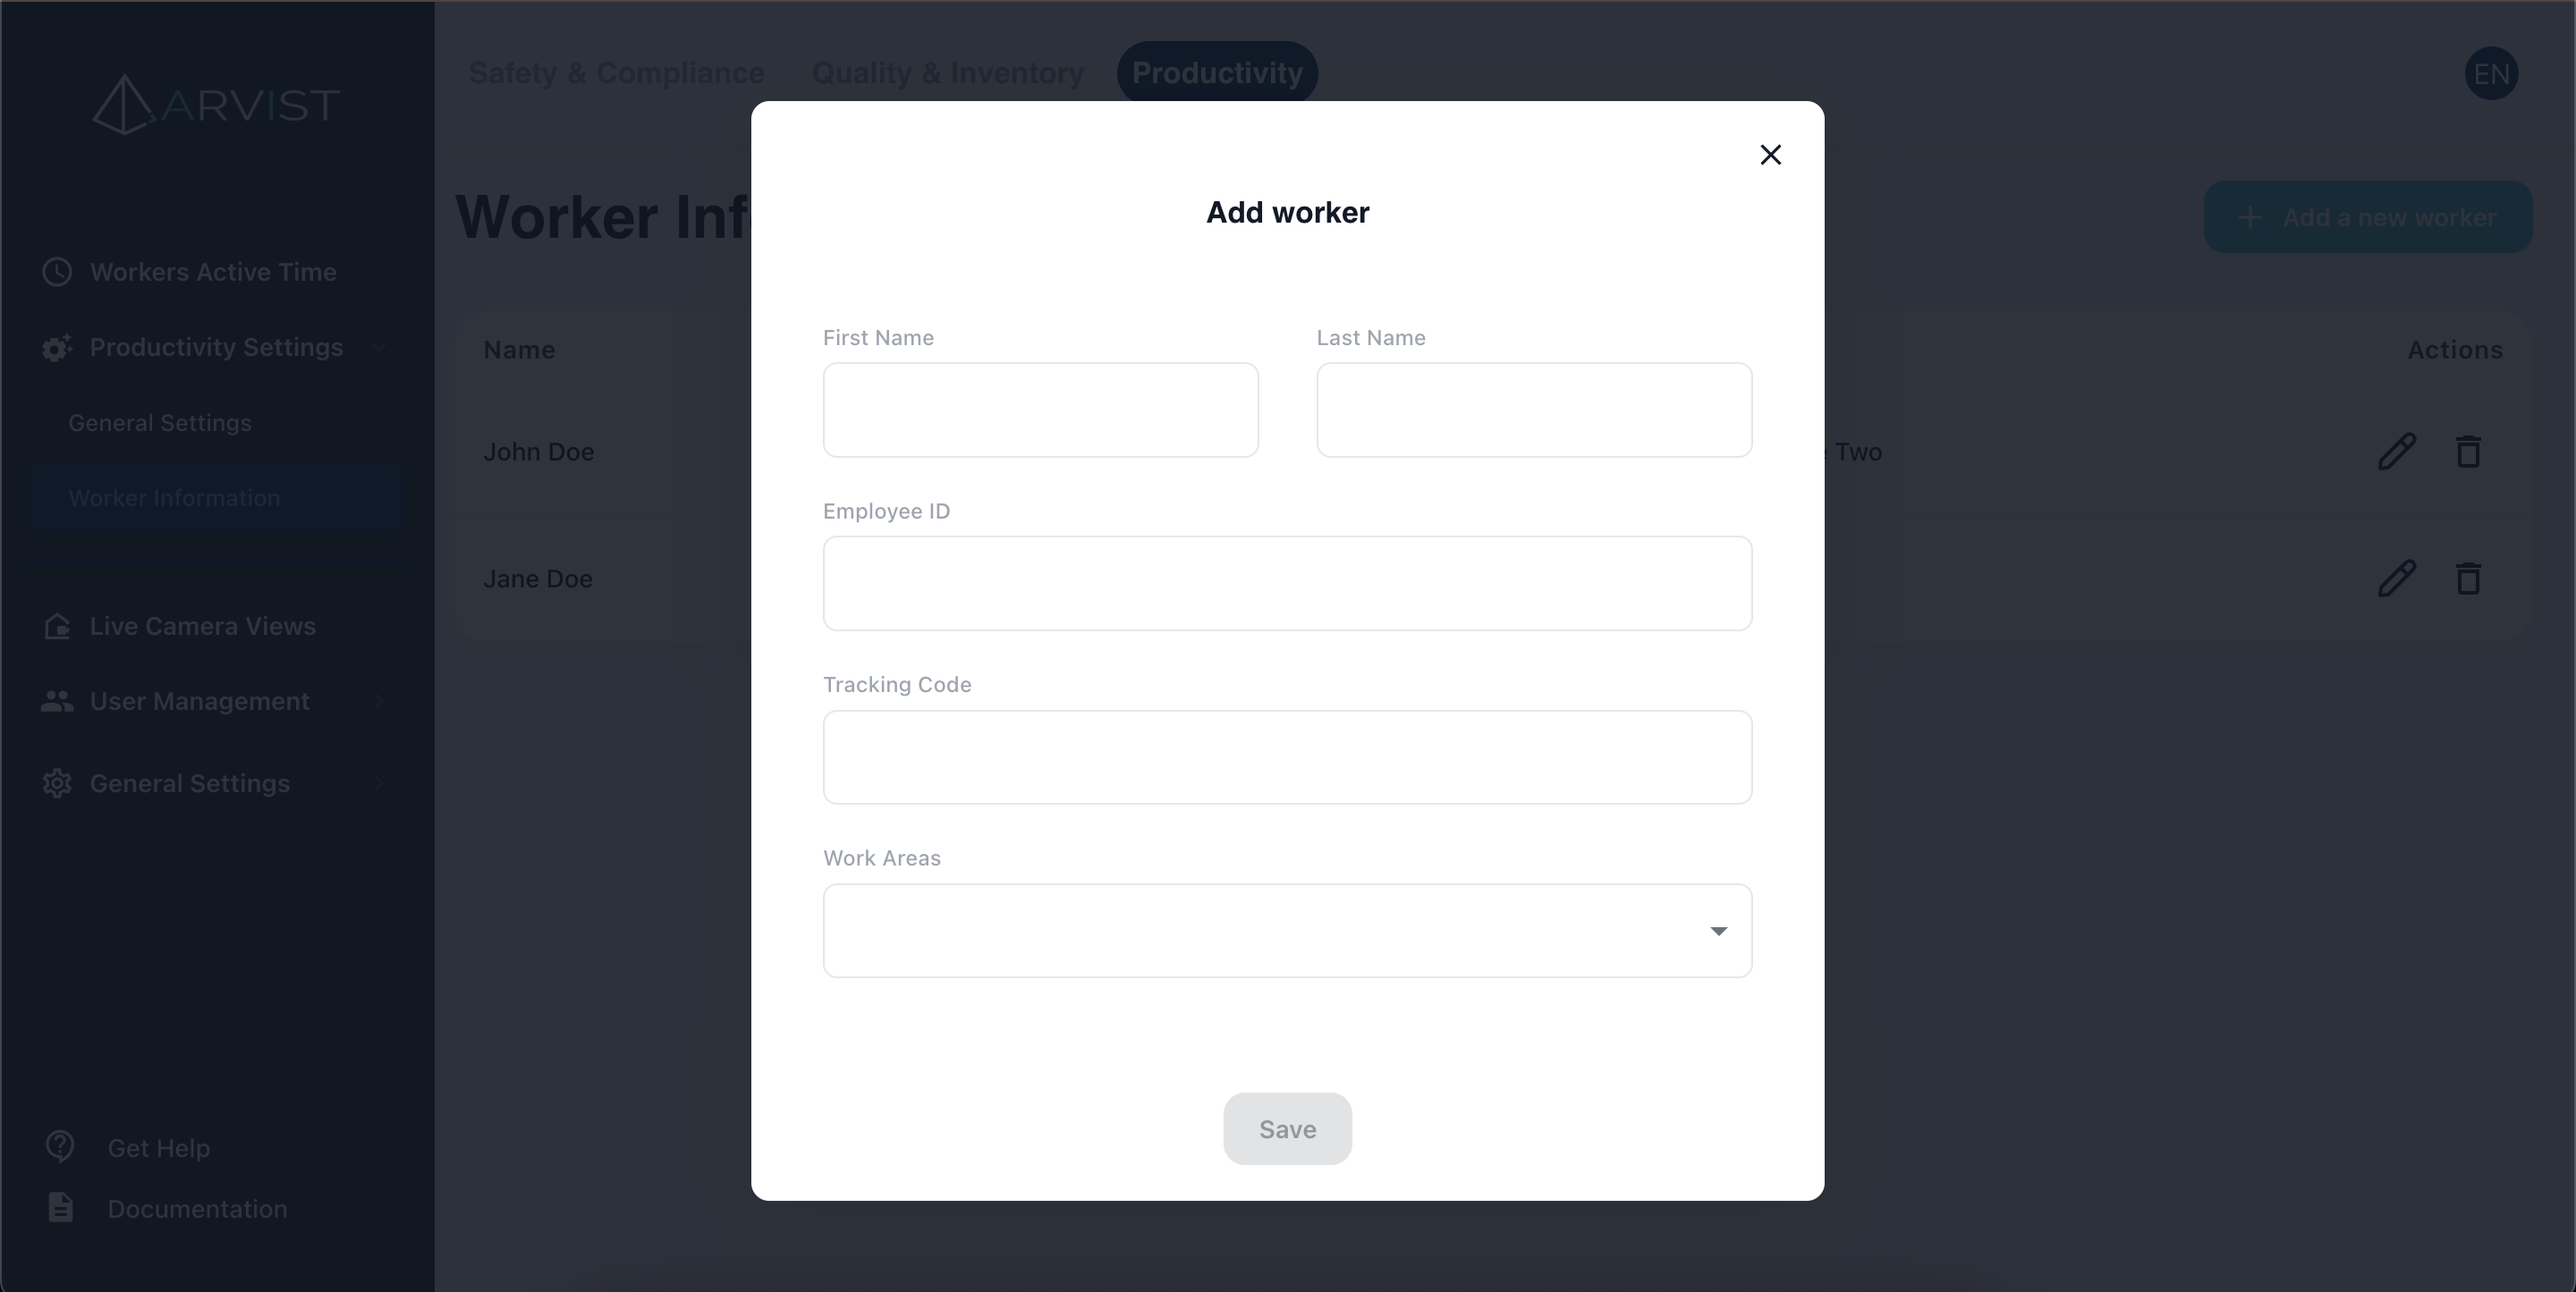
In the Create Worker form:
- First name: Enter the worker's first name.
- Last name: Enter the worker's last name.
- Employee ID: Enter the worker's employee ID.
- Tracking code: Enter the worker's tracking code.
- Worker areas: Select the work areas and/or stations for this Worker.
After filling in the details, click Save to save the worker.
ArUco Marker Download
When a new worker is created, the system automatically downloads an ArUco marker associated with the worker's tracking code. This marker can be printed and used for worker identification and tracking within the productivity system.
Managing Workers
Once workers are added, they will appear in the worker information list under Productivity Settings.
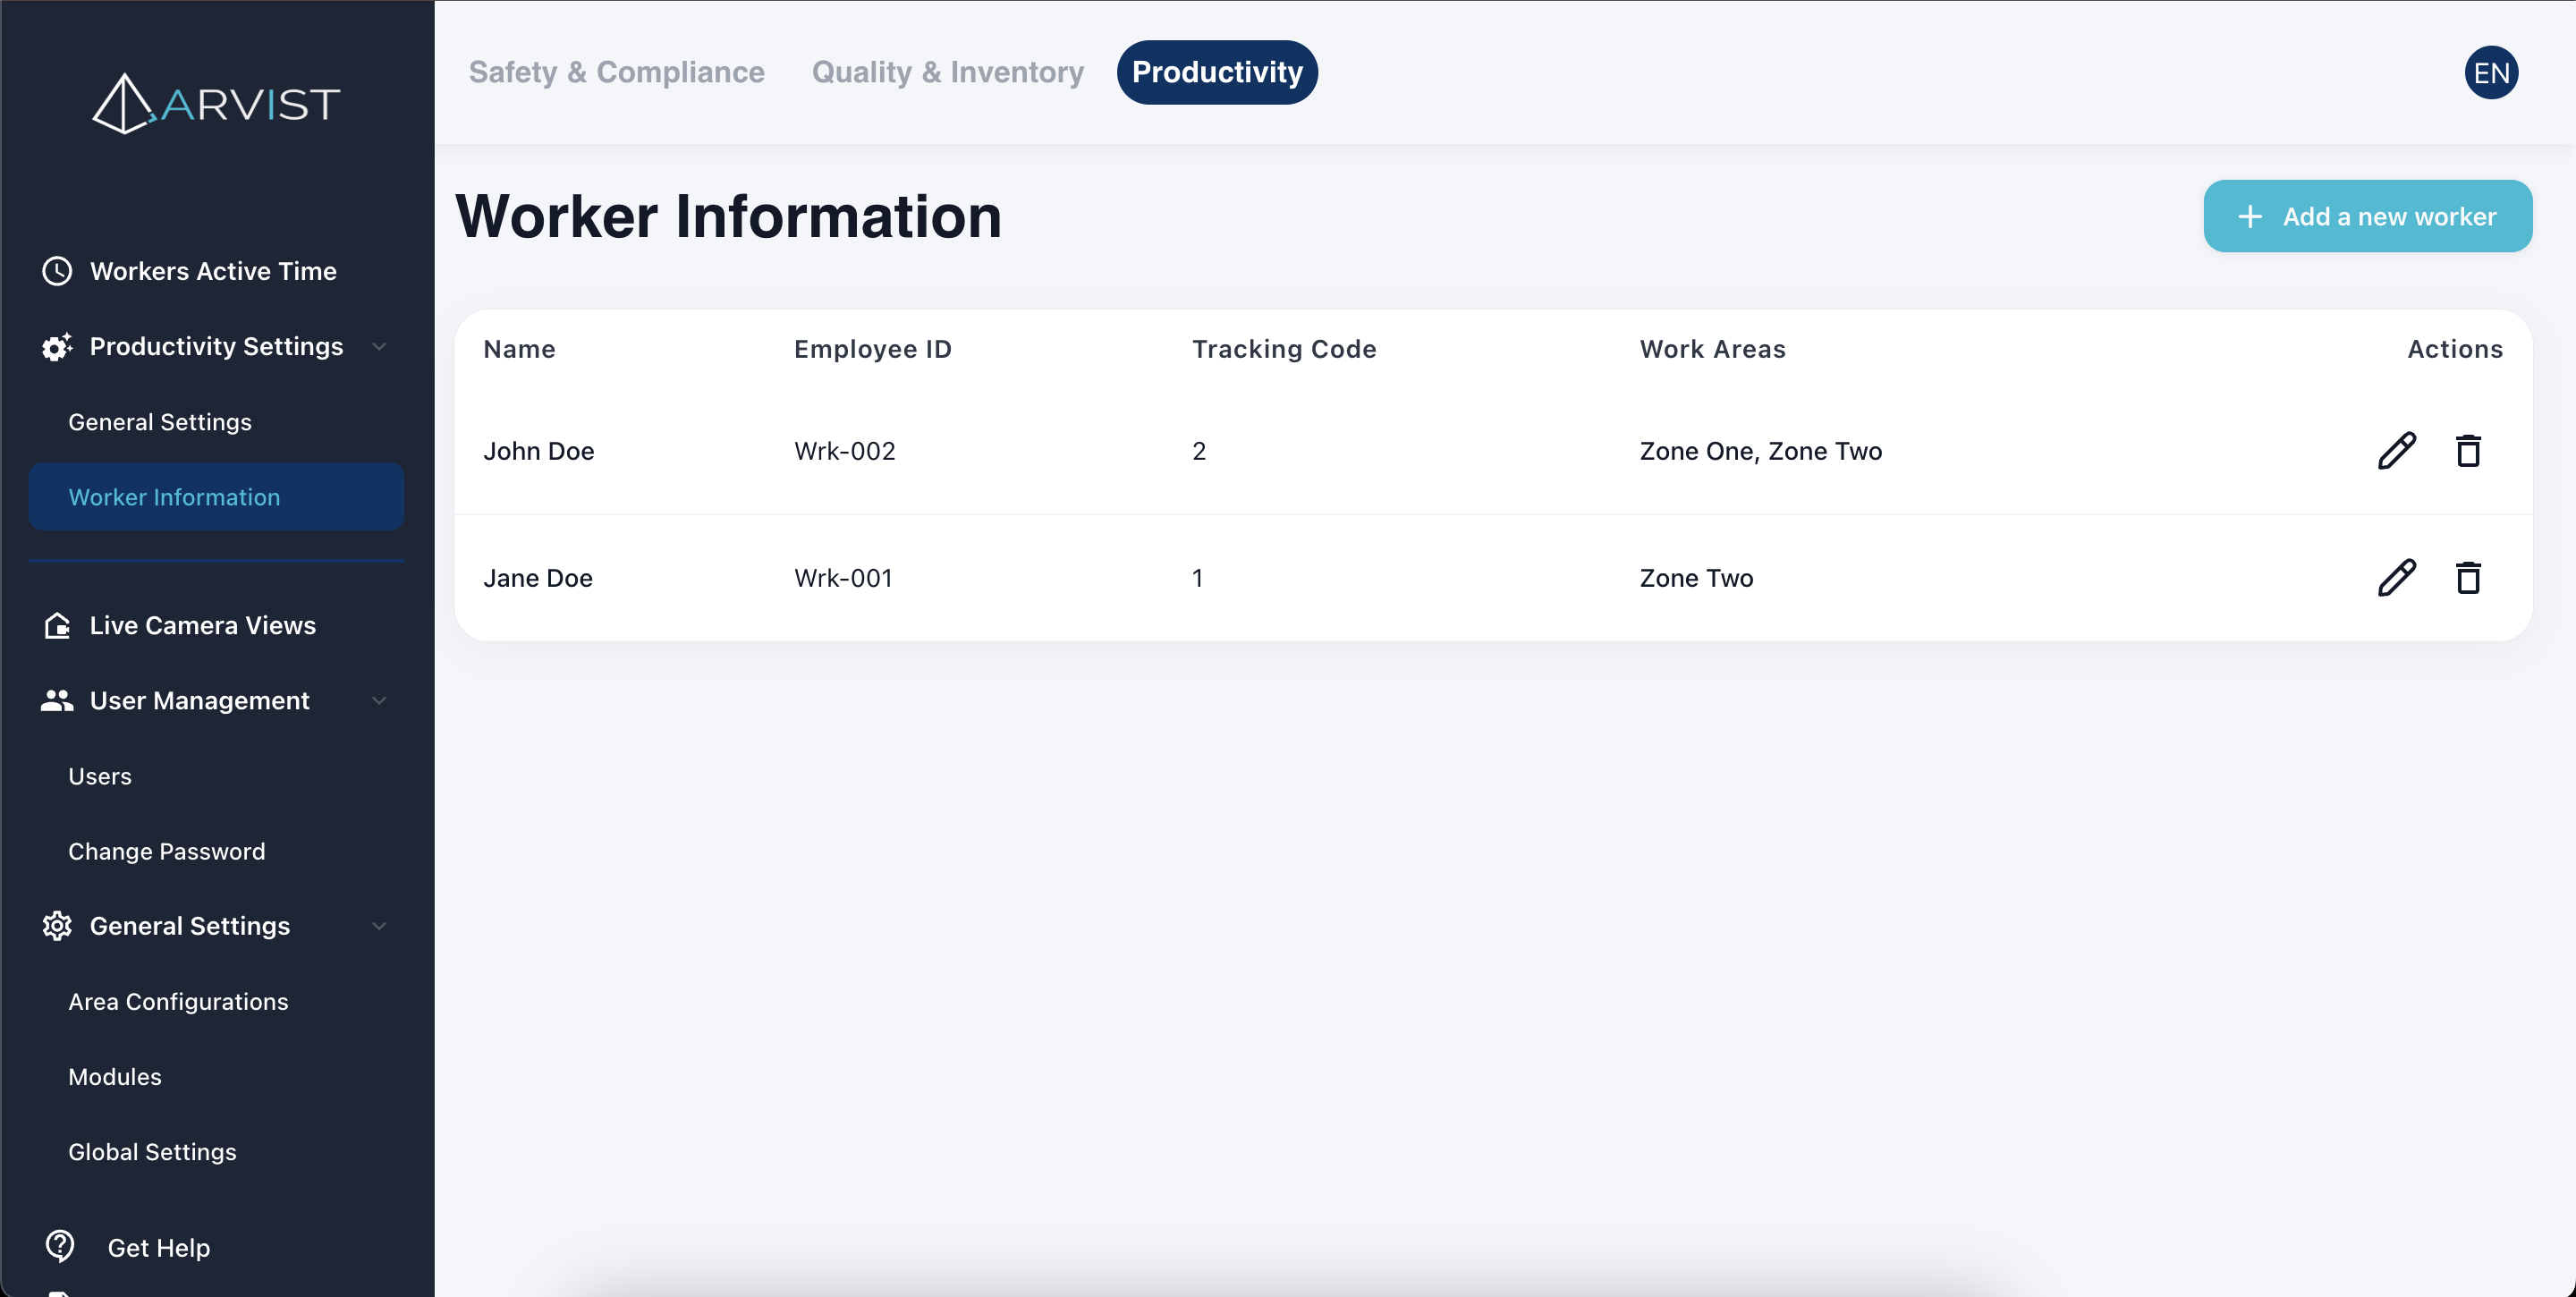
From this list, you can edit or delete workers by clicking the respective icons under the Actions column.
Downloading ArUco Markers
In the Actions column, you'll find an icon that allows you to manually download the ArUco marker for any worker. The marker is generated based on the worker's ArUco ID/tracking code and can be printed for use in worker tracking and identification.
To download an ArUco marker:
- Locate the worker in the list
- Click the download icon in the Actions column
- The ArUco marker image will be downloaded to your device
- Print the marker and provide it to the worker for identification purposes
Bulk Worker Upload via CSV
For organizations with many workers, Arvist supports bulk worker creation through CSV file upload. This feature streamlines the onboarding process and reduces manual data entry.
Accessing CSV Upload
- Navigate to Productivity on the top bar and click on Productivity Settings on the left-hand menu
- Select Worker Information
- Click Upload CSV in the top right corner of the page
CSV File Format Requirements
Your CSV file must include the following columns (column names must match exactly):
- First Name: Worker's first name
- Last Name: Worker's last name
- Employee ID: Unique employee identifier from your HR/payroll system
- Tracking Code: Unique tracking code for worker identification (e.g., badge number, QR code)
- Worker Areas: Comma-separated list of area names where the worker is assigned
Example CSV Format
First Name,Last Name,Employee ID,Tracking Code,Worker Areas
John,Smith,EMP001,BADGE123,"Receiving,Shipping"
Jane,Doe,EMP002,BADGE124,Warehouse Floor
Michael,Johnson,EMP003,BADGE125,"Loading Dock,Staging Area"
CSV Upload Guidelines
Required Fields:
- All columns listed above must be present in the CSV
- Employee ID must be unique for each worker
- Tracking Code must be unique for each worker
Worker Areas:
- Area names must match existing areas in your system exactly (case-sensitive)
- Multiple areas can be assigned by separating them with commas
- If an area name contains a comma, enclose the entire area list in quotes
- Areas that don't exist in the system will be flagged during upload
Best Practices:
- Validate Data First: Review your CSV file for duplicates and errors before uploading
- Use Consistent Formatting: Ensure Employee IDs and Tracking Codes follow a consistent format
- Test with Small Batches: When first using CSV upload, test with a small file (5-10 workers) to verify formatting
- Keep a Backup: Save a copy of your CSV file before uploading in case you need to reference it
- Avoid Special Characters: Stick to alphanumeric characters in Employee IDs and Tracking Codes when possible
Uploading the CSV File
- Click Upload CSV on the Worker Information page
- Select your CSV file from your computer or drag and drop it into the upload area
- The system will validate the file format and check for:
- Missing required fields
- Duplicate Employee IDs or Tracking Codes
- Invalid area names
- Review any validation errors or warnings displayed
- If validation passes, click Confirm Upload to create the workers
- The page will refresh and display all newly created workers in the list
Handling Upload Errors
If the upload fails validation, you'll receive specific error messages:
- Duplicate Employee ID: An employee with this ID already exists - use a unique ID or update the existing worker
- Duplicate Tracking Code: A worker with this tracking code already exists - use a unique code
- Invalid Area: The specified area doesn't exist - create the area first or correct the area name
- Missing Required Field: One or more required columns are missing from your CSV
- Invalid Format: The CSV file format is incorrect - check column headers and data formatting
After correcting errors in your CSV file, you can re-upload it.
Updating Existing Workers
CSV upload only creates new workers. To update existing worker information:
- Use the edit function for individual workers in the worker list, or
- Delete the existing worker and include them in a new CSV upload (note: this will remove their historical data)
NOTE: When using CSV upload, make sure that the area names in your CSV exactly match the area names configured in your system under General Settings > Area Configuration. Any mismatch will prevent the worker from being properly assigned to their work areas.