Label Modeling
Label Modeling is the process of teaching the Arvist system how to read and extract information from product and pallet case labels. By creating label models, you enable the system to automatically identify products, read SKUs, extract quantities, and process other critical information during shipment inspections.
What is Label Modeling?
Label modeling involves uploading a digital image of a label and marking specific regions (fields) that contain important information. Once a label model is created, the AI can use it as a template to read similar labels during shipment inspection, enabling automated product identification and counting.
This is essential for:
- Product Identification: Automatically reading SKUs or product identifiers from labels
- Quantity Extraction: Reading case quantities or item counts from labels
- Shipment Information: Extracting shipment IDs, pallet identifiers, and pallet counts
- Automated Data Entry: Reducing manual data entry during inspections
- Inventory Accuracy: Ensuring accurate product counts and identification
When to Use Label Modeling
Label modeling is required when:
- You enable Item Count in a quality station's product count settings
- There is important information on labels that needs to be automatically extracted
- You have standardized labels across your products or pallets
NOTE: Label modeling is NOT required for Case Count - only for Item Count when you need to read quantities or other information directly from case labels. If you're only counting boxes without reading label information, label modeling is optional.
Accessing Label Modeling
To access label modeling:
- Navigate to Quality & Inventory in the sidebar
- Click on Quality Settings to expand the dropdown
- Select Label Modeling from the menu
From this page, you can:
- View all existing label models
- Filter labels by type (All, Pallet, Product)
- Create new label models
- Edit existing label models
- Delete label models that are no longer needed
Creating a Label Model
Step 1: Upload Label Image
- Click Add New Label in the top right corner
- You'll be presented with an image upload interface
- Upload a digital image of the label you want to model:
- Drag and drop an image file onto the upload area, or
- Click the camera icon to browse and select an image file
- Preferred format: Use a JPG image of the actual label file (e.g., the digital label design from your label printer software or supplier)
- Ensure the image is:
- Clear and high resolution
- Shows the complete label layout
- Contains all text and barcodes in sharp focus
- Flat and undistorted (not a photo of a physical label)
TIP: Digital label files (JPG, PNG) from your label design software or supplier provide the best results. These are clearer and more consistent than photos of physical labels.
Step 2: Configure Label Information
After uploading the image, you'll configure the label details:
Label Name
Enter a unique, descriptive name for this label model:
- Name must be unique (cannot match existing label names)
- Use clear naming that indicates what products use this label
- Examples: "Standard Product Box Label", "Pallet Label - Warehouse A", "Supplier X Case Label"
Label Type
Select the type of label you're modeling:
Product
- Labels on individual product boxes or cases
- Used for identifying products during inspection
- Typically contains SKU, product name, case quantity, item quantity
Pallet
- Labels on pallet wrapping or pallet tags
- Used for identifying entire pallet loads
- May contain shipment information, destination, pallet identifier, or number of pallets
Step 3: Define Label Fields
After configuring the label information, you'll define the specific fields on the label where information appears. For each field, you can enable Mark Field (visual region marking), Value Format (pattern matching), or both options together to help the system accurately extract information.
IMPORTANT: For each label field, you must enable at least one extraction option:
- Enable Mark Field to draw a rectangle on the label image, OR
- Enable Value Format to configure a pattern matching rule, OR
- Enable both options together for improved accuracy
Available Field Types
When marking fields, you can select from the following field types depending on which label type was selected:
-
Pallet Labels
- Case Quantity: The number of cases/boxes
- Pallet Identifier: A unique identifier for the pallet (e.g., pallet barcode, ID number)
- Order Numbers: The shipment order numbers
- Total # of Pallets: The total number of pallets in a shipment
-
Product Labels
- Item Quantity: The number of individual items within a case
- Product Identifier: The product SKU, UPC, or product code
Choose the field type that matches the information displayed in each area of the label.
Extraction Options
For each field you want to extract, you have two complementary options available:
1. Mark Field (Visual Region Marking)
When enabled, this option allows you to draw rectangles on the label image, telling the system exactly where to look for information. This is useful when:
- The field appears in a consistent location on the label
- You want to visually define the extraction area
- The label has a structured, predictable layout
2. Value Format (Pattern Matching)
When enabled, this option allows you to define text patterns that identify and extract information, regardless of where it appears on the label. This is useful when:
- Field locations vary across label variants
- You want to extract information based on its format rather than position
- You need more precise control over what gets extracted
Using Both Options Together
You can (and often should) enable both options together for a single field:
- Mark Field defines WHERE to look on the label
- Value Format defines WHAT pattern to extract
- This combination provides the most accurate and reliable extraction
Mark Field (Visual Region Marking)
To use visual region marking for a field:
-
Select Field Type: Choose the type of information from the dropdown
- Select from the available field types listed above
- Each field type corresponds to a specific piece of information the system can extract
-
Enable Mark Field: Check the Mark Field checkbox to enable visual region marking
- Your cursor will change to a crosshair
- You're now ready to draw a rectangle on the label
-
Draw Rectangle: Click and drag on the label image to create a rectangle around the field
- Click at one corner of the field
- Drag to the opposite corner
- Release to complete the rectangle
- The rectangle should fully encompass the text or barcode you want to capture
-
Review Rectangle: The drawn rectangle will appear on the label with a label indicating the field type
- Ensure the rectangle completely covers the target information
- Avoid including unnecessary surrounding elements
-
Repeat for Additional Fields:
- Select the next field type from the dropdown
- Enable Mark Field and draw another rectangle
- Continue until all important fields are marked

Editing Rectangles
To modify an existing rectangle:
- Click on the rectangle you want to edit
- The field type dropdown will update to show that rectangle's field type
- You can:
- Resize: Drag the corner handles to adjust the rectangle size
- Move: Drag the rectangle to reposition it
- Change Field Type: Select a different field type from the dropdown to reassign the rectangle
- Delete: Click the delete icon to remove the rectangle
Rectangle Best Practices
- Precise Boundaries: Draw rectangles tightly around the text or barcode, leaving minimal white space
- Complete Coverage: Ensure the entire field is within the rectangle
- Avoid Overlap: Don't let rectangles overlap with each other
- Include Field Labels: If a field has a label (e.g., "QTY:", "SKU:"), include it in the rectangle to help the AI understand context
- Consistent Sizing: For similar fields across labels, try to use similar rectangle sizes
Value Format (Pattern Matching)
Value Format allows you to define rules that identify and extract information based on text patterns, rather than visual location. This is particularly useful when:
- The same information appears in different locations across label variants
- You need to extract specific formatted data (e.g., SKUs with a specific prefix)
- You want to validate that extracted data matches expected formats
To use Value Format for a field:
- Select Field Type: Choose the type of information from the dropdown
- Enable Value Format: Check the Value Format checkbox to enable pattern matching
- Choose Format Type: Select either Guided Format or Regex Pattern (only one can be used at a time)
Format Type Options
When Value Format is enabled, you can choose one of two format types:
Guided Format (Recommended for Most Users)
The Guided Format provides a simple, structured way to define patterns without needing regex knowledge. When you select Guided Format, you can specify:
-
Prefix: Text that the target value must start with
- Example: "SKU" or "QTY"
- The system will look for values that start with this text
- The entire matching value (including the prefix) will be extracted
- Leave empty if there's no consistent prefix
-
Suffix: Text that the target value must end with
- Example: "pcs" or "units"
- The system will look for values that end with this text
- The entire matching value (including the suffix) will be extracted
- Leave empty if there's no consistent suffix
-
Length: The exact number of characters in the complete target value
- Example: 10 for "SKU:123456" (includes the prefix)
- Leave empty if the length varies
- Helps ensure you extract the complete value with the correct format
IMPORTANT: The system extracts the complete matching text from the label as an exact match. It does not remove or parse out prefixes and suffixes. If the label shows "SKU:123456", and you specify Prefix: "SKU", the extracted value will be "SKU:123456" (the entire string that starts with "SKU").
Examples of Guided Format:
-
Extract SKU that starts with "SKU":
- Prefix:
SKU - Suffix: (empty)
- Length: (empty)
- Matches: "SKU:123456" → extracts "SKU:123456"
- Matches: "SKU-ABC-789" → extracts "SKU-ABC-789"
- Prefix:
-
Extract quantity that starts with "QTY" and ends with "pcs":
- Prefix:
QTY - Suffix:
pcs - Length: (empty)
- Matches: "QTY:24pcs" → extracts "QTY:24pcs"
- Matches: "QTY24pcs" → extracts "QTY24pcs"
- Prefix:
-
Extract fixed-length product code:
- Prefix:
PROD - Suffix: (empty)
- Length:
10 - Matches: "PROD-12345" → extracts "PROD-12345" (exactly 10 characters)
- Will not match "PROD-1234" (too short) or "PROD-123456" (too long)
- Prefix:
Regex Pattern (Advanced Users)
For more complex extraction requirements, you can select Regex Pattern and use regular expressions (regex). This option is recommended for advanced users who are familiar with regex syntax.
- Enter a standard regex pattern that matches the complete text you want to extract
- The system will extract the entire matched text from the label
- Unlike Guided Format, regex allows for more complex pattern matching with alternation, character classes, and validation rules
Examples of Regex Patterns:
-
Extract SKU that starts with "SKU:":
- Pattern:
SKU:[A-Z0-9]+ - Matches: "SKU:ABC12345" → extracts "SKU:ABC12345"
- Pattern:
-
Extract text between "QTY:" and "pcs":
- Pattern:
QTY:\d+pcs - Matches: "QTY:24pcs" → extracts "QTY:24pcs"
- Pattern:
-
Extract product code with specific format:
- Pattern:
PROD-\d{6} - Matches: "PROD-123456" → extracts "PROD-123456"
- Pattern:
NOTE: Unlike some regex tools, the system extracts the entire matched pattern, not capture groups. The pattern you write should match exactly what you want to extract from the label.
TIP: Start with Guided Format for simpler use cases. Only use Regex Pattern when you need more complex matching logic, such as alternation, character classes, or complex validation rules.
Configuring Value Format
To configure Value Format for a field:
-
Select Field Type: Choose the type of information from the dropdown
-
Enable Value Format: Check the Value Format checkbox
-
Choose Format Type:
- Select Guided Format for simple prefix/suffix/length rules, OR
- Select Regex Pattern for advanced pattern matching
- Note: Only one format type can be active at a time
-
Configure the Pattern:
For Guided Format:
- Enter the Prefix text (if applicable)
- Enter the Suffix text (if applicable)
- Enter the Length number (if applicable)
- At least one of these fields must be filled
For Regex Pattern:
- Enter a valid regex pattern
- Use capture groups
()to specify what to extract - Test your pattern to ensure it matches correctly
-
Combine with Mark Field (Optional but Recommended):
- Also enable the Mark Field checkbox
- Draw a rectangle to limit where the pattern is searched
- This improves accuracy and performance
- Especially useful when the same pattern might appear multiple times on the label
Value Format Best Practices
- Start Simple: Begin with Guided Format and only move to Regex Pattern if needed
- Test Thoroughly: Test your patterns with multiple label variations to ensure they work consistently
- Combine Options: Enable both Mark Field and Value Format for best results
- Be Specific: More specific patterns reduce false matches
- Document Patterns: Use clear field names that indicate what pattern you're matching
- Consider Variations: Think about how the data might vary across different labels
- Validate Length: If the data has a fixed length, always specify it to prevent partial matches
Step 4: Save the Label Model
Once you've defined all necessary fields:
- Review the label configuration:
- Check all marked rectangles on the label image
- Review all pattern matching rules
- Verify that:
- Label name is unique and descriptive
- Label type is correct (Product or Pallet)
- All important fields are defined
- Each field has at least one extraction option enabled (Mark Field, Value Format, or both)
- Each field is assigned the correct field type
- Click Save to create the label model
The system will validate your configuration and make the label model available for use during shipment inspections.
NOTE: The system will prevent you from saving if any field has neither Mark Field nor Value Format enabled. Each field must have at least one extraction option configured.
Managing Label Models
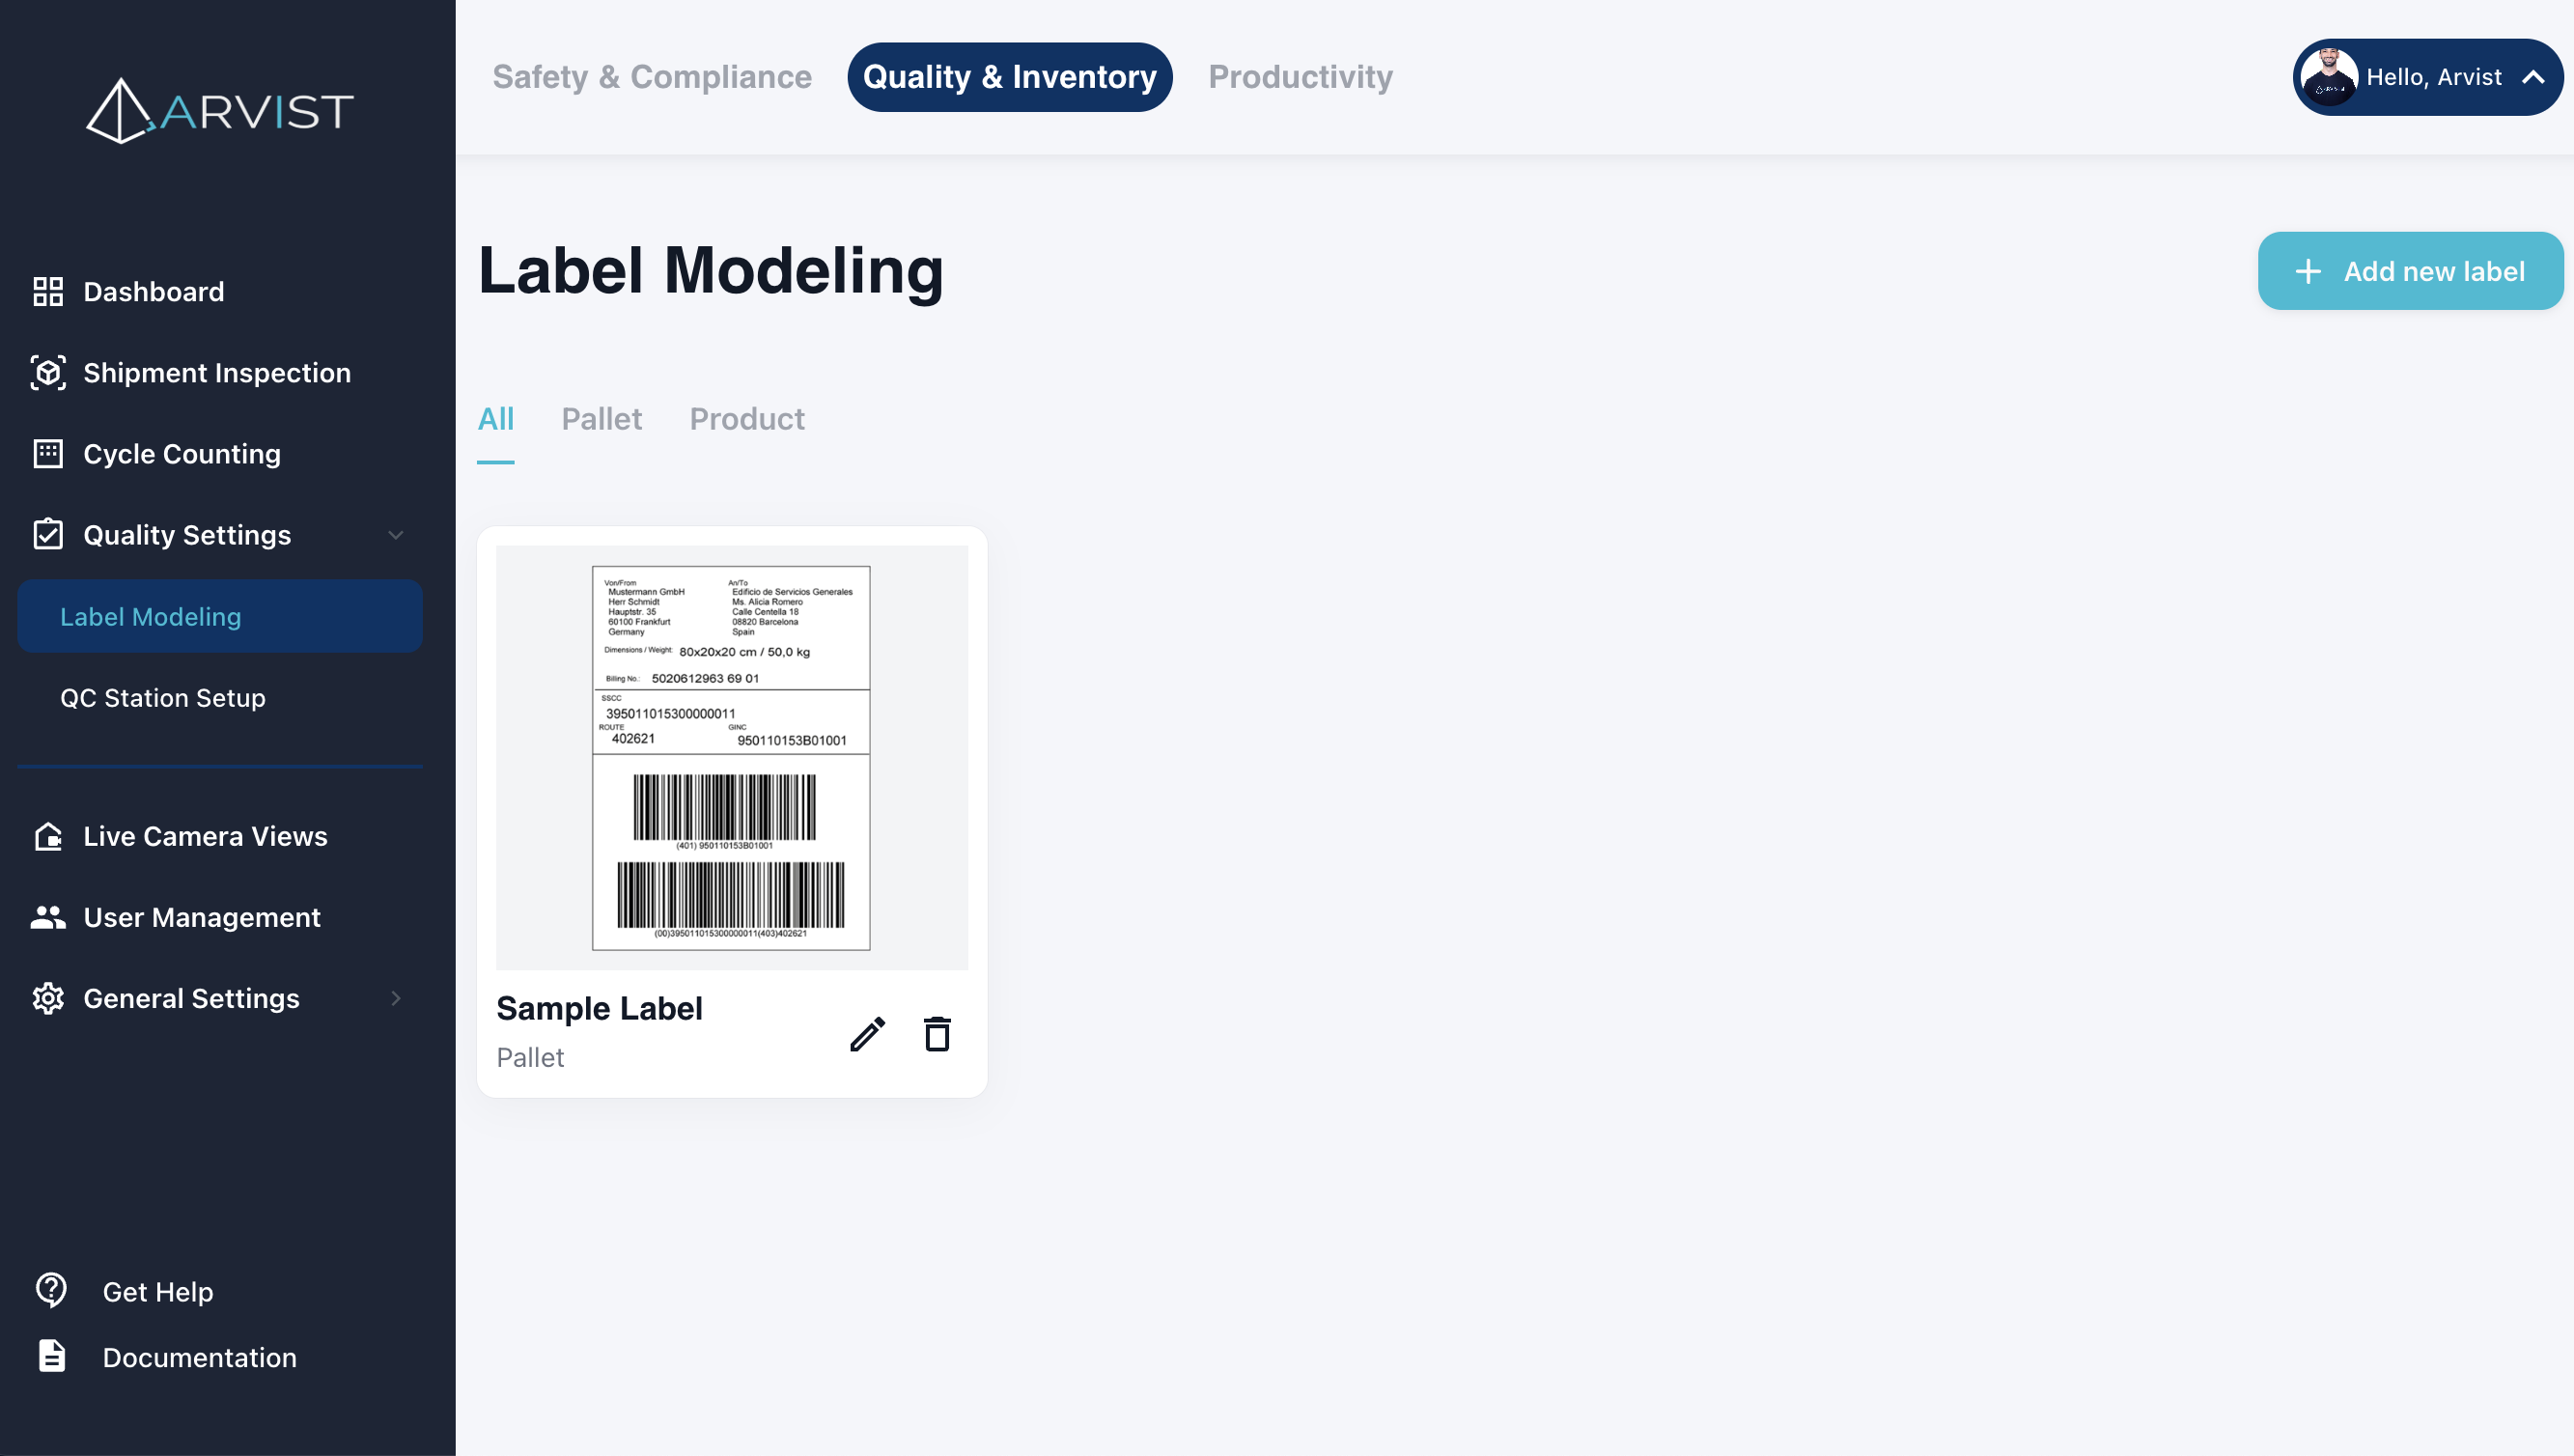
Viewing Label Models
From the Label Modeling page, you can:
- See all label models displayed as cards
- Each card shows:
- Label image thumbnail
- Label name
- Label type (Product or Pallet)
- Created date
- Use the tabs at the top to filter by:
- All: Show all label models
- Pallet: Show only pallet labels
- Product: Show only product labels
Editing a Label Model
To modify an existing label model:
- Click the Edit icon (pencil) on the label card
- You'll be taken to the label editing interface
- You can:
- View the existing label image (cannot change image)
- Update the label name
- Change the label type
- Enable/disable Mark Field and add, remove, or modify rectangles
- Enable/disable Value Format and modify pattern rules (Guided Format or Regex Pattern)
- Click Save to apply changes
NOTE: You cannot change the label image itself when editing. If you need a different image, create a new label model and delete the old one.
Deleting a Label Model
To remove a label model:
- Click the Delete icon (trash) on the label card
- Confirm the deletion in the popup dialog
WARNING: Deleting a label model will affect any quality stations or inspection workflows that rely on it. Ensure the label is no longer needed before deletion.
How Label Models Are Used
Once created, label models are automatically used by the system during shipment inspection when:
- Product Count is enabled in the quality station configuration
- Item Count is selected as the counting method (with "From Case Labels" option)
- Images are captured during inspection
The system will:
- Detect labels in the captured images
- Match detected labels to your label models based on visual similarity
- Extract information from the fields you marked (product identifier, quantities, etc.)
- Use the extracted information for product identification and counting
- Compare extracted data against WMS/PO expected data (if available)
If the system cannot read a label or finds mismatches, it will trigger the Unidentified Products popup for user intervention.
Best Practices
Label Image Quality
- Use digital label files (JPG, PNG) from your label design software or supplier when possible
- Ensure labels are high resolution and all text is clearly legible
- Avoid using photos of physical labels unless digital files are unavailable
- Use images with consistent lighting and no distortion
Field Selection
- Mark all critical fields that need to be extracted
- Common essential fields include: Product Identifier and Item Quantity
- Include Shipment ID or Pallet Identifier for tracking purposes
- Don't mark decorative elements or non-essential information
Extraction Option Selection
- Use Mark Field alone when: Field positions are consistent and patterns are complex/variable
- Use Value Format alone when: Field positions vary but formats are consistent
- Use both together when: You want maximum accuracy and reliability (recommended for critical fields)
- Test your extraction options with various label samples to ensure consistency
Value Format Guidelines
- Start with Guided Format (prefix/suffix/length) for most use cases
- Only use Regex Pattern when you need complex matching logic
- Be as specific as possible to avoid false matches
- Always specify length if the data has a fixed format
- Test patterns with variations of the label to ensure they work in all cases
- Document your patterns clearly in the field names or internally
Label Naming
- Use descriptive names that indicate which products or suppliers use the label
- Include supplier or manufacturer names if you have multiple label formats
- Be consistent with naming conventions across all labels
- Examples: "Supplier A Product Label", "Internal Warehouse Pallet Tag"
Testing
- After creating a label model, test it with a small shipment inspection
- Verify the system correctly reads all defined fields
- Adjust Mark Field rectangles and Value Format patterns if information is not being extracted accurately
- Test with multiple label variations to ensure robustness
- Create additional label models if you have multiple label formats
Maintenance
- Update label models when label formats change
- Update Value Format rules if data formats change
- Create new models for new product lines or suppliers
- Remove obsolete label models to keep the system organized
- Keep a library of label models for all active products and suppliers
Related Documentation
- Quality Stations - Configure stations that use label models for item counting
- Shipment Inspection - Learn how inspections use label data
- Modules - Enable product counting module